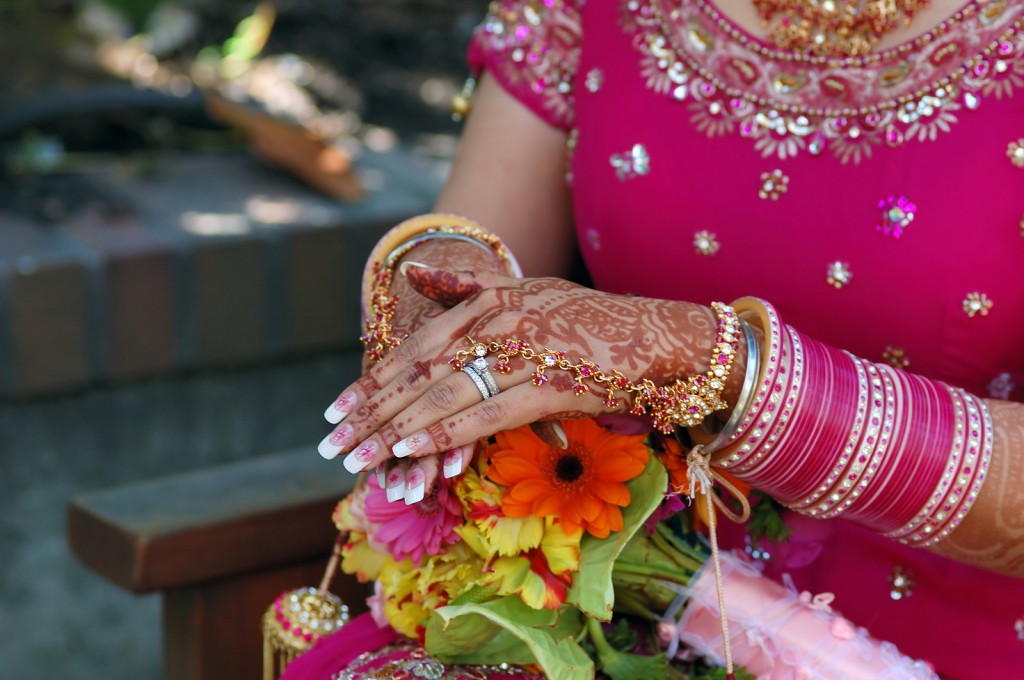
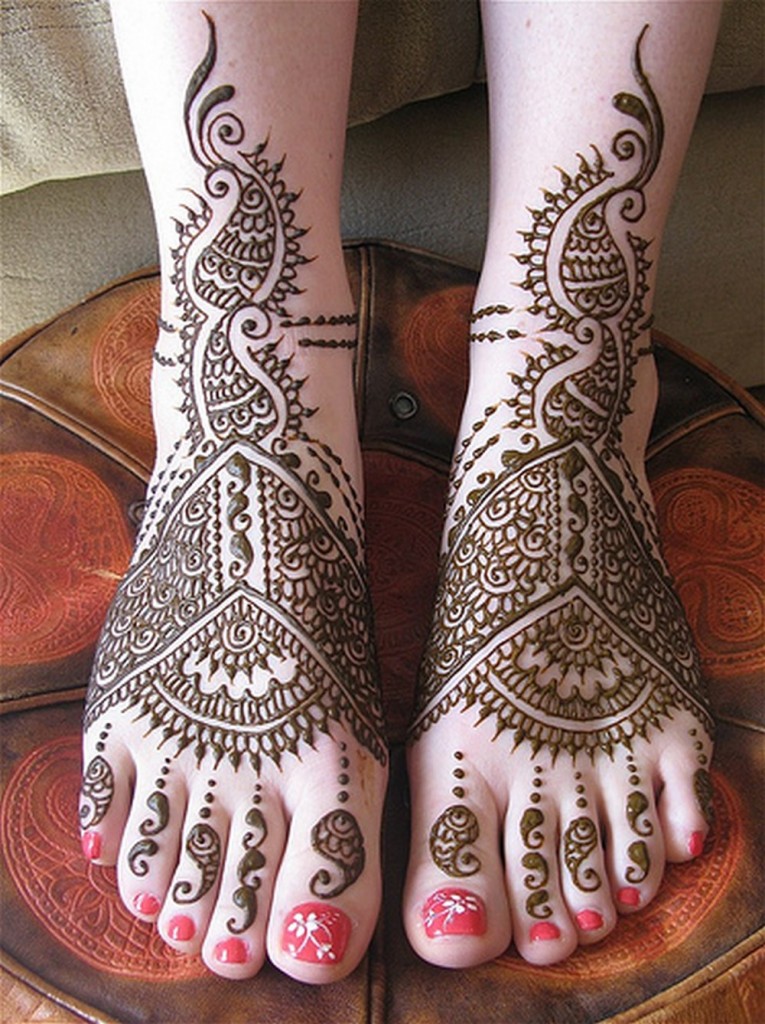
As a bride, you would like to glow from head to toe on your wedding day. To achieve this objective, many Indian brides are opting for creative, unique and colourful Nail Art designs for their finger and toe nails.
Here we shall present some tips and pointers that can help brides opting for Nail Art. We will also present some terms that your Nail artist might use when you go in for a consultation.
It can be very useful to understand these terms in order to get a clear idea as to what to expect.
- 3D nails Art– The designs have depth, height and width.
- Airbrushing– This is a technique used by artists to create different designs on the nail. They use a tool having a brush attached to compressor unit via a hose. The nail paint is mixed with air and forced out on the nail to create a colourful spray.
- Colour blending– A blend of two or more colours can create unique patterns.
- Colour Fading– This is done through air brushing technique to gradually fade a colour from dark to light and vice a versa.
- Nail cut out– The artist may cut out part of the tip to change the original shape of your nail.
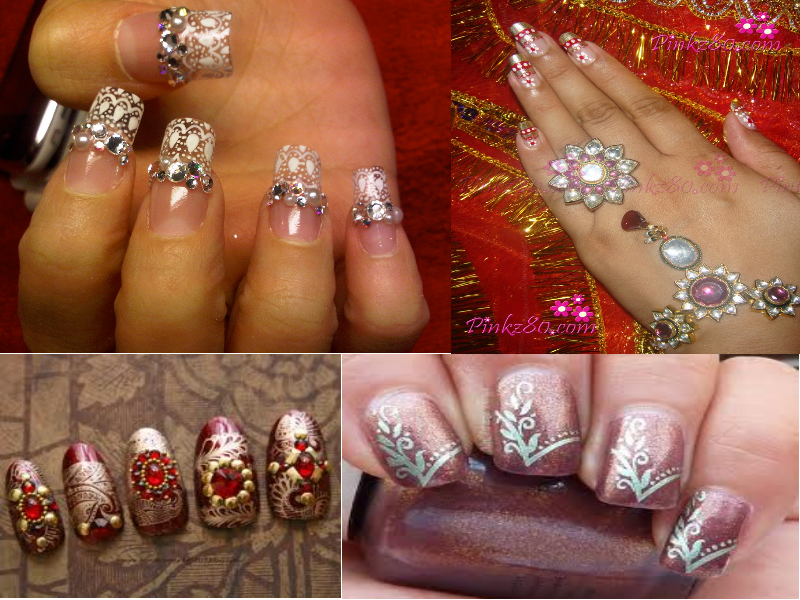
- Embedding– Beautiful and decorative items or sequins are embedded on the nail.
Tips for choosing the right nail salon
image: nimsdevine.com
The nail art salon you choose to work with must meet legal and hygienic standards. It is best to opt for a salon that comes highly recommended, either through friends or colleagues. All tools and equipment must appear clean. The artist should have knowledge regarding the use of liquid and coloured powders and UV gels. Often, chemicals are used for creating artwork, so do ensure that the artist is giving due consideration to your safety as well as his/hers. Artists would typically remove any existing nail polish and also clean and disinfect the area to be treated. Sometimes, bridal makeup packages may also include Nail Art.
What to Expect At the Nail Art Salon
- The artist will study your nail and assess whether you are candidate for nail art. He/she would then show you samples and photographs to help you choose your design. Make sure you discuss the colour of your attire during this step.
- Discuss about the products and tools the artist would use. The manufacturers often give allergy warnings on these products.
- There are many 3D designs like shells, flowers, lace, glitters, jewels etc that can even match the sequins on your dress. You can also opt for matching toe and finger nail art .
- Based on the condition of your nails the artist would recommend a nail base to hide discolorations etc. He/she would also file away the nails to a desired shape.
- The artist would then apply the products in the correct sequence to achieve the desired pattern/design.
- Any leftover product from the region surrounding the nail would be wiped away and the design would be sealed to eliminate the paint from the cuticle region. Acrylic wraps helps prevent the nail paint from chipping and can last for a long time.
The cost of nail art service
The cost of nail art typically varies based on the time it takes to create the art. Some designs naturally need more time and the cost would be higher. The artist must be willing to incorporate the theme and colours of your wedding attire and also recommend designs that fit into your budget. For brides who want to try Nail Art at home, there are many products available in the market. These do not cost much and typically come in the form of a sharp pen-brush combo pack that can help you draw and paint designs on the nail. Many online tutorials and videos can guide you.
Some points to note
- Often our nails are not strong enough for nail art. A nail specialist/physician can put you on a diet a few months prior to the wedding to help you have stronger nails in time for the occasion.
- Simple manicures and pedicures once a week, at least 5 to 6 months prior to the wedding can help you get softer hands and feet and also help you take care of your nails.
- If you are planning to use nail extensions, make sure you try them on a couple of times for long periods. This can help you avoid discomfort during the celebrations.
- Your henna artist and Nail artist need to coordinate the patterns in order to ensure that they do not clash with each other.
Images: white and pearl sequins- nails-arts.com, haathphool- pinkz80.com, Rajasthan nail art-nevertoomuchglitter.etsy.com
Have you tried Nail Art before? Do you have any tips and advice for our brides to be? Do comment!


